My daughter went to a craft birthday party last week! Such a great party – if you know me, you know how I love a great party! I learned about two new easy and functional crafts that I have to share! Fun summer crafts to do under a shady tree or on a rainy day! I hate painting with kids – I admit it, I teach Pre-K once a week and I avoid traditional painting like the plague… I like non-messy paint that dries quickly and we paint a lot, just not with traditional paint! Both crafts I share below are non-messy and use stamps and sharpies vs. paint! Happy smile on my face!!! Although, I would have to think a bit about using sharpies with the Pre-K Groups…??
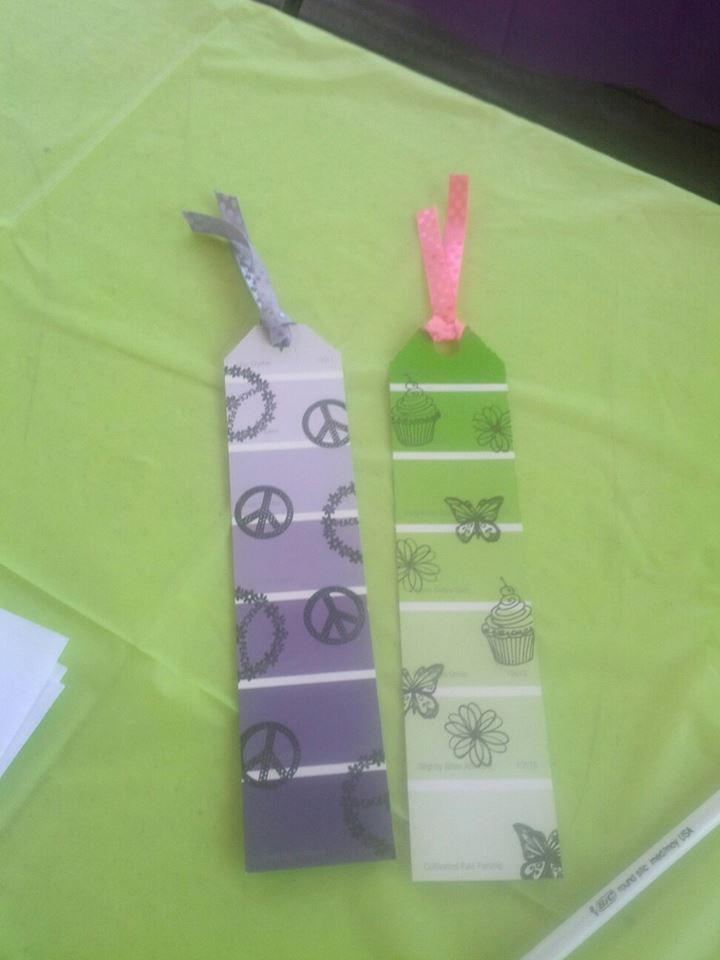
Ok – Book Marks with Paint Swatches!!! How stinking cute are these???
Just cut the top, add a ribbon, and stamp a design with stamps and a black stamp pad. They turn out really cute! This is a pretty quick craft and one that might be fun to do in a summer book club!
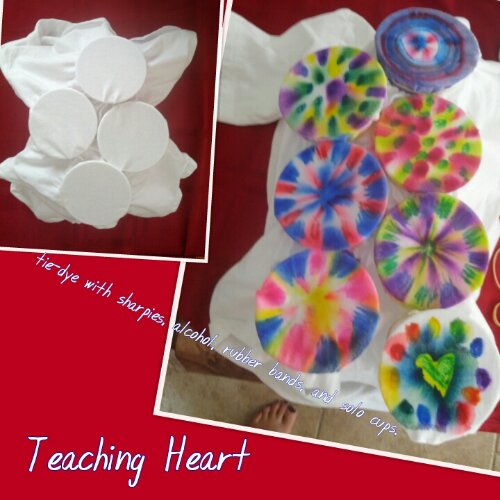
Now on to my favorite craft… I think I could make these all day LONG! Relaxing and amazing results with little expense. Plus it is a craft your kids can do and actually use… maybe it’s the Special Education Teacher part of me – I love a functional task!!! Finished product is below…
To make these you will need – solo cups, rubber bands, alcohol, medicine dropper (they will give you one for free at your local pharmacy), Sharpie markers of various colors, and what you would like to tie-dye (shirt, apron, purse, bag… )
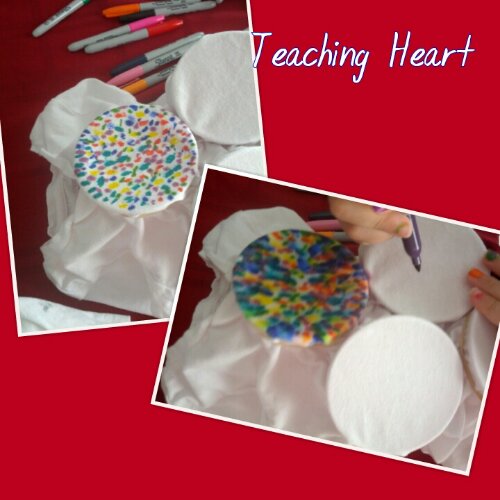
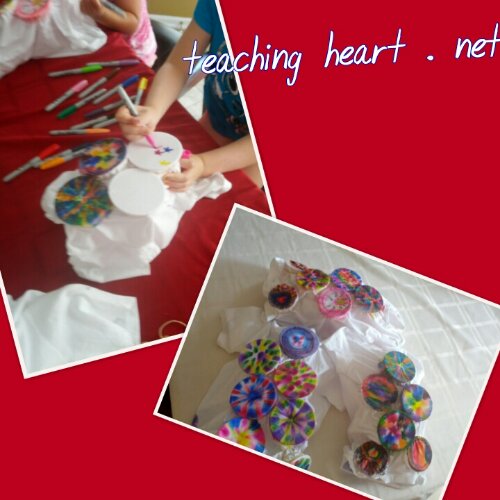
Put the solo cup under the shirt with mouth side up. Put rubber band over to make a tight circle – create dots or lines with the sharpie in the circle. Once your design is done, use the medicine dropper to add alcohol to the design. You can see in the picture below what the before alcohol deign looks like and the after. The more alcohol the more spread out the design becomes.
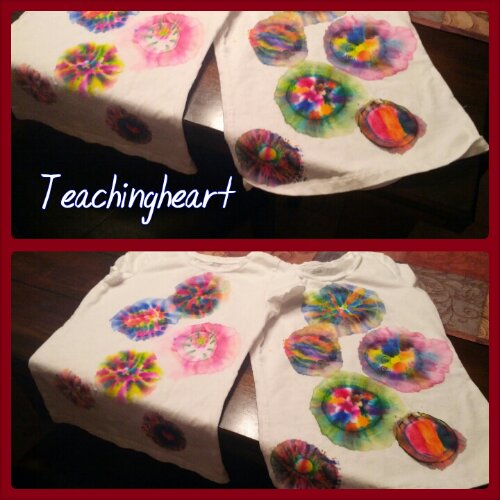
The second picture below shows you three shirts drying. I love this because they dry in like 10 minutes – great for a Birthday Party craft!!!
The picture below shows the cups under the shirt ready to be designed and the other picture shows what it looks like once you create your designs… I love how they come out different and unique! You can be creative with hearts, circles, and other shapes!
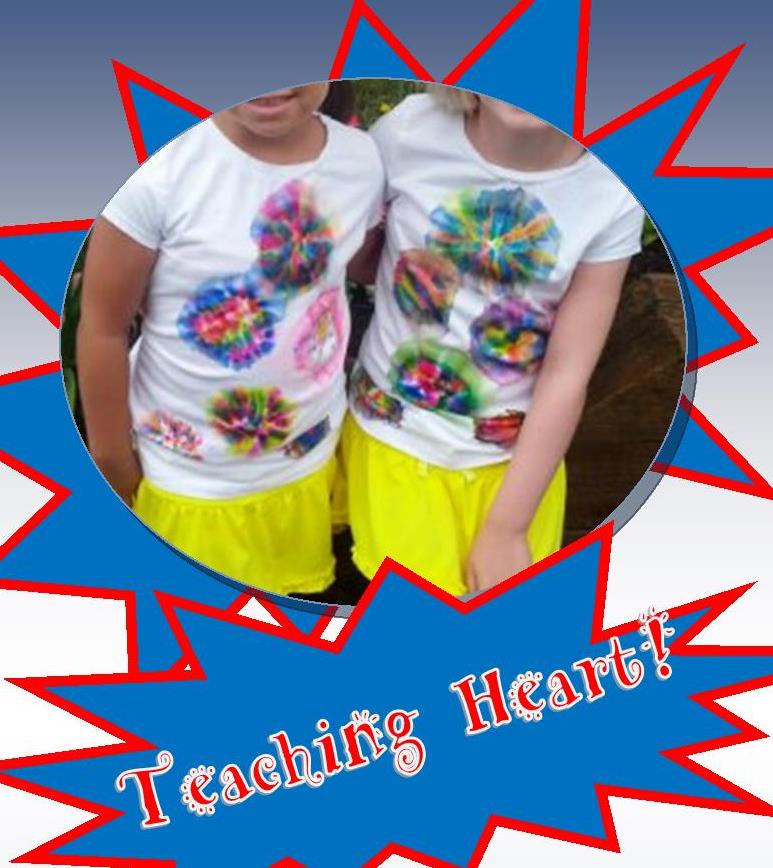
So easy to take care of. They dry very quickly and once dry you stick them in the dryer for 15 minutes to set them. Then I washed them once and here they are on the girls… They loved them when they were working on them and were so proud to wear them after they were done…
Here’s a link that gives you step by step instructions and shares the science behind the fun craft!
Have fun!
Google+


glad you think so… they were lots of fun!
gorgeous!
This is so neat! Thanks for sharing!
great idea!
:))